If you’ve read my other posts you will know I like free stuff. One new bit of free stuff that I’ve been playing with recently is Microsoft’s Image Composite Editor (hereafter referred to ICE, to keep both you and I sane). Now I realise that if you’ve paid for a Microsoft Windows license then this is borderline “free” but we’ll park that argument for another day. Microsoft’s ICE fortunately fixes a problem I’ve had for a number of months. You see my daughter has been making composite “panorama” pictures on her rather yucky mobile phone for the last few months, and to tell the truth I’ve been rather jealous. Just to be clear, what we are talking about here is making a “wide-angle” panorama picture by “stitching” together a number of pictures taken from the same place at the same time. I admit you can do the same with something like Adobe Photoshop elements (see tutorial) but you will have to pay for the privilege. So, enough of the pre-amble, time to get on with the tutorial. Let’s assume for the moment you’ve taken a nice set of pictures from your favourite panoramic viewpoint.
- Download the software. You will find the software here. Take the 64-bit version of the software (unless you’re running the 32-bit version of Windows).
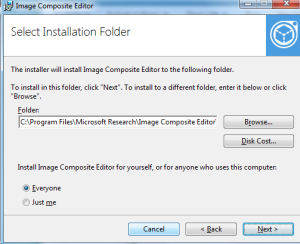
- Install the software. i.e. find the file you just downloaded and click through the boxes. You need to accept the licenses agreement, and decided whether you want all users on the PC to have access to the software. From memory, you may also need the Microsoft .NET framework ver 4.5 as well. If you do I’m sure you will be told.

- Launch the App.
Now the important part, how to make a panorama.
- From the application front-screen select the option “New Panorama From Images” (as shown below):

Which pictures or video are you going to use ?
- Select the pictures you want to stitch together from the “File Open” dialog box. In my example are 4 pictures taken on a sunny day from Castle Hill in Nice. Remember: You can select multiple pictures by holding the “Ctrl” key down whilst clicking on each picture, or, if you are feeling funky you can also drag and drop files onto the application.

Selecting the files you want to stitch together
- Click on Stitch. You now get the first view of your panorama. If you are feeling so inclined you can play with the Projection (top right). In my screenshot I’ve increased the size of the picture so I can see it better ! If it all goes wrong whilst playing here, just click on “Back” (top-left).
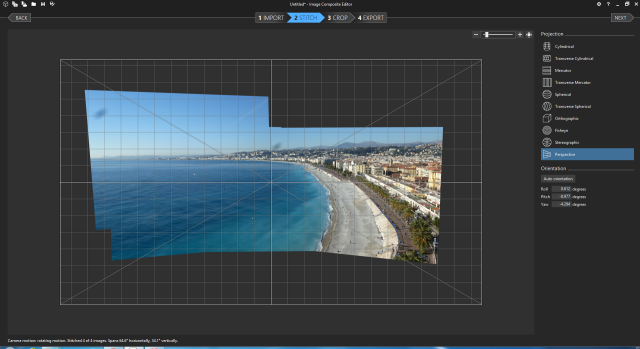
The software’s best guess at what your panorama should look like
- Crop to Size. This is you’re next chance to play. Click on “Auto Crop” (top right) and the software selects the “largest” rectangular image it can from the assembly. After selecting “Auto Crop” check the small tickbox marked “Use auto completion” and you will see the software creatively filling in the rest of your picture. With my example pictures it doesn’t work (I had a smudge on the camera lens, which shows up reapeatedly…)
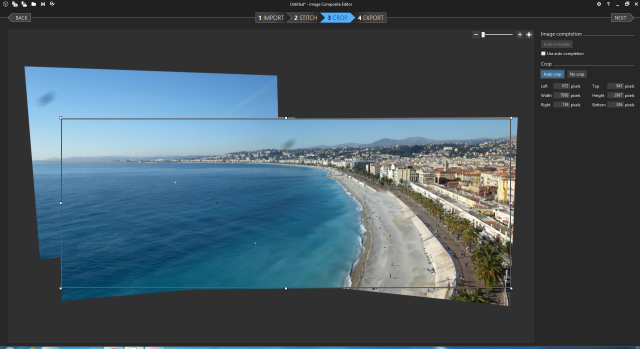
Auto-complete is smart. Use the small squares to re-size the cropped image
- Export. Hopefully rather obvious. The main choice you need to make is the file format. A JPG image will be smaller, but some detail will be lost. If you want a “lossless” format chose to export as a PNG image. As you can see the lens smudge is still there. I did a little “post production” to remove it using Photoshop Elements – otherwise you need to tell people there was a small fire on the hill.
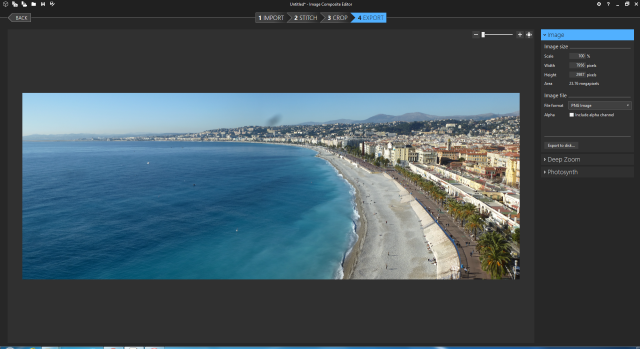
Almost finished. You just need to save the file.


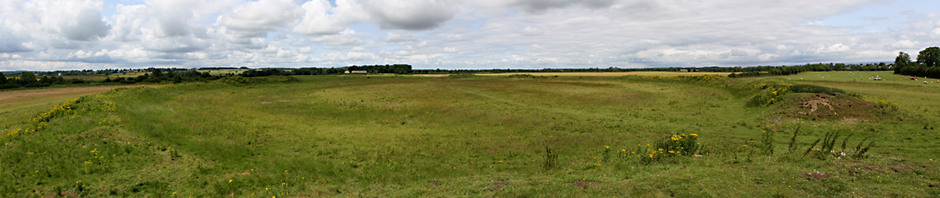
The final image (I’ve used an even smaller version 940 x 148 pixels for my blog cover page):

The actual image is 4 times as large. I’ve scaled this down to save the internet.
I hope this helps. Please feel free to add any questions or comments in the “Reply” section below.

Pingback: Die Familie Böll aus Xanten | learnalittleeveryday
The ICE window is too large for my screen. How do I make it smaller?